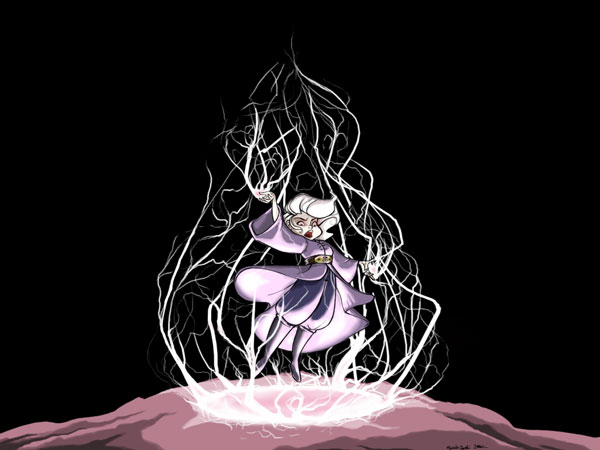
here's the finished product. did the paint in Photoshop Elements, kept it simple. for this look i made lots of layers. here it is broken down:
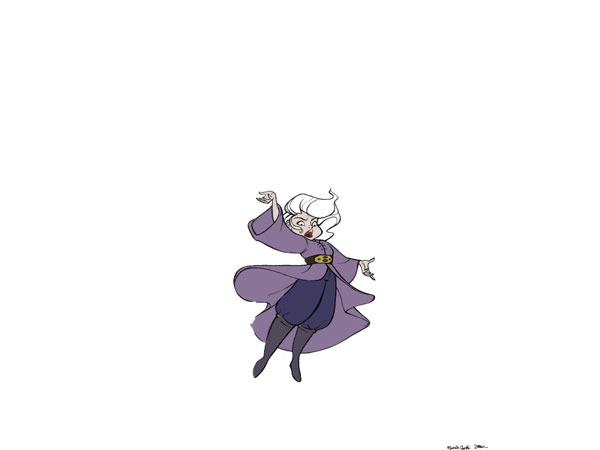
1. take the original drawing, put that in the top layer. make sure to change the layer's attribute from "normal" to "multiply". this will allow you to paint all you want underneath, and the drawing still shows thru. all of the other layers can be left on normal.
2. background layer, the bottom-most layer.

3. flat color layer. just to get the basic color scheme in. looks like a painted animation cell at this point.
4. highlights layer. think of your lights and darks as shapes. know where your light source is coming from!

5. shadows layer. same as the lights!

6. effects layer. this made it easier for me, as if i messed up any of the "lightning", i could erase without touching the rest of the drawing.

7. glow layer. just a few glowy touches to finish her off! (see the first image again)
this isn't really a guideline on how anyone should work...just how i approach a project like this. this was a fun few days of work! hope that these past few posts helped if you're looking for a process of digital painting.
2 comments:
this is so crazy awesome. youngjae loved it too.
wow Michelle! that's awesome! next time I visit I want you to show me how you did that in person. I want to try out one of those stylus-pads.
Post a Comment